Photography at Longwood Gardens
in the conservatory
and for similar conditions elsewhere as in a greenhouse
Close-up Photo Tips
Next photo workshop featuring flower photography – 14-15 April at Norfolk Botanical Garden. For info, see my website www.ospreyphoto.com or http://norfolkbotanicalgarden.org To register call (757) 441-5830
Introduction to Photography at Longwood Gardens
A legacy left by Pierre du Pont, Longwood Gardens consists of over 1,077 acres of indoor and outdoor gardens with fountains, reflecting pools, flower beds, woodland trails, and meadows. Located near Kennett Square, Pennsylvania, in the Brandywine Creek Valley.
The 4-acre indoor Conservatory of Longwood Gardens houses plant displays that are varied throughout the year. It is divided into climate-controlled rooms representing various climates and plant species from around the world. My favorite is the orchid room, filled with species from all over the world, varying in color from red to black, with some shaped like lady slippers and others resembling insects. At any time during the year the display showcases 200–300 of the 6,200 orchids housed at Longwood Gardens.

Depth of Field (DOF) Issues
The more you magnify your image, the shallower the depth of field in the photo, i.e. the amount of scene that is sharp in front and behind the point of focus (1/3 in front and 2/3 behind). With high magnifications, you can increase the depth of field slightly by selecting a higher f-number (smaller lens openings) but with extreme magnification this may have only have a marginal effect. You may opt to use less magnification to gain depth and then crop the image during editing to exclude the unwanted surroundings.
A shallow depth of field is not necessarily a bad thing and can be helpful to isolate the subject and keep the background from becoming a problem by being well defined. Isolation of the subject in this fashion is particularly effective if the background is at a distance and you are shooting eye-level with the subject. But shallow DOF can be a problem if the subject you wish to photograph has depth and you wish to capture detail front to back.
Flat Surfaces
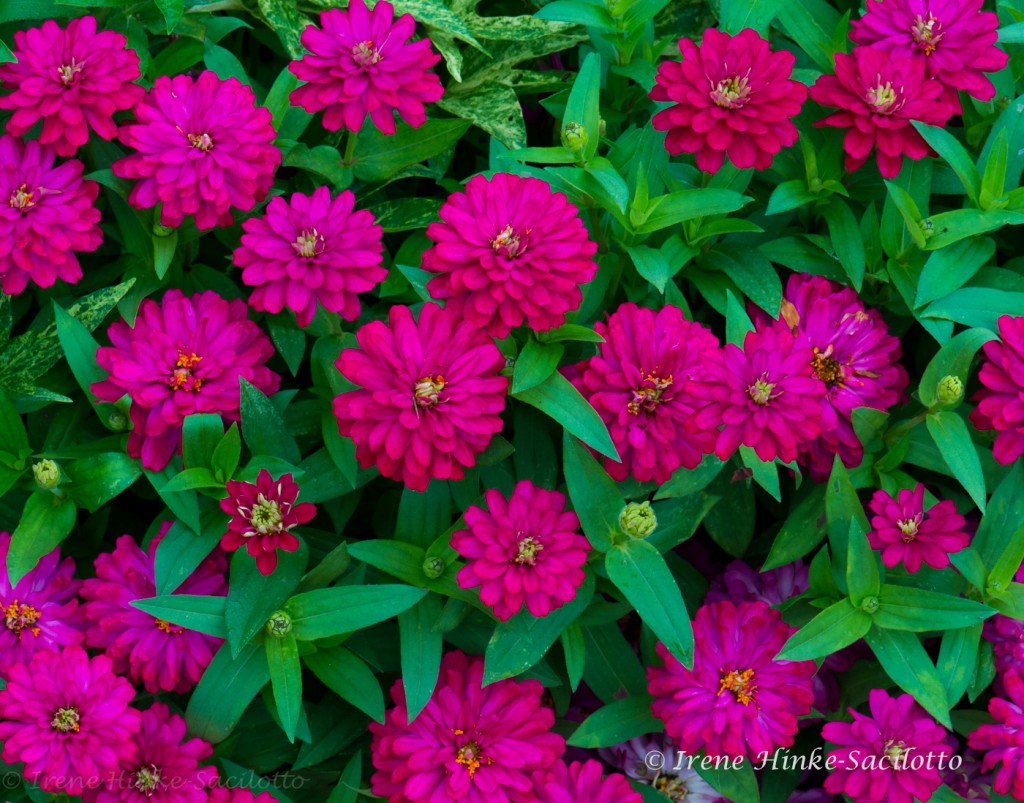
When photographing patterns on a leaf or a group of multicolored leaves or flowers, you need to have the face of the lens parallel to the surface to have all portions of the scene within the DOF. To photograph from above a pattern created by a group of leaves or flowers, select a section of the scene where the vegetation is of nearly equal height and distance from the lens. A cell phone with built in camera can have an advantage here because it can be more easily positioned at the desired angle over the subject without the constraints of a tripod or the weight of a heavy camera/lens system.

Manual Focus
Manually focusing your lens allows you to precisely select the part of the scene you wish to be sharp. With some lenses, manual focusing allows you to focus closer to the subject than when using autofocus. This slightly increases the magnification possible with that lens.
Stacking
George Lepp and others have used the technique of stacking to sharply capture each layer of a subject, controlling what is, and is not in focus. This requires taking multiple images of a stationary subject at different but overlapping points of focus and using software such as Helicon Focus. The technique can be used with macro and landscape subjects. For details, see George Lepp’s article in Outdoor Photographer Magazine. http://www.outdoorphotographer.com/tips-techniques/photo-editing-tips/unlimited-depth-of-field/

Distracting Backgrounds
It is easy to be caught up with the beauty of a flower or other subject that you ignore obvious distractions in the background. For a photograph to be successful, it is important that the viewer can immediately identify the subject. Anything that directs the eye away from it should be avoided. Such distractions can be particularly troublesome in the conservatory on sunny days. Carefully examine the image in your viewfinder looking for bright or colorful vegetation behind the subject, shiny objects, lights, hot spots from sunlight striking the background, shadows from overhead struts supporting the greenhouse glass, and object appearing to grow out of your subject. If close to your subject, make sure your own shadow is not falling on a portion of it.
Because of the shallow depth of field common with high magnification, you may have a difficult time recognizing distractions behind the subject. One trick to avoid this issue is to temporarily shift the focus of the lens from your subject to the background in search of potential problems – bright areas, shiny objects, strong forms, bright colors, etc. Note possible distractions and then refocus on the subject, keeping these observations in mind. If necessary, move or recompose your image to avoid the offending items.
Visualization
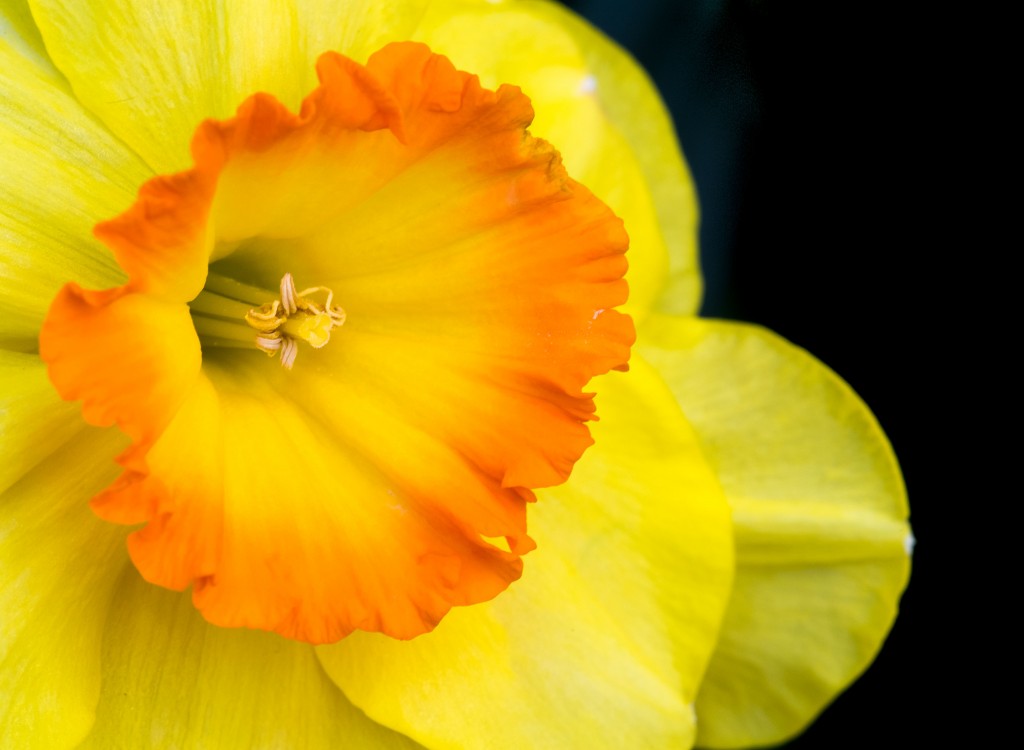
Take the time to visualize your final results. When approaching a subject, always identify what drew you to it initially. Was it its color, abstract patterns, shape, texture, etc. Consider the best lighting and depth of field to emphasize these features. Adjust the f-stop and position the camera accordingly.
Light
Low light can be an issue in the conservatory in areas heavily shaded or on overcast days. High ISO settings on your camera may be required so select your camera that has the best response under these conditions. With many cameras, ISOs higher than 400 are accompanied by noise that reduces image quality and appears as random specs of color and/or something similar to film grain. In your shooting menu, you may have special settings to improve performance at high ISOs or when using slow shutter speeds. Turn them on but don’t forget to turn them off when conditions change. Avoid under exposure since noise becomes more evident as you lighten the exposure. Noise is the most noticeable in dark areas of the image and if the image is underexposed. Editing programs such as Adobe’s Lightroom and software plug-ins provided by Nik and Topaz can help reduce the appearance of noise without compromising image sharpness.
Playback Display Options
In your playback menu on your camera select display options that help you recognize exposure problems. Turn on the histogram and highlight indicator that shows where the image is overexposed and detail lost.
Wires and Sticks
Plants on display are often supported by wires or sticks, so try to avoid capturing them in the photo. This may require changing your shooting angle or magnifying the subject to better isolate the most interesting aspects of the plant. Consider using an editing program such as Adobe’s Lightroom, Photoshop Elements or Photoshop CC to remove the offending object using clone or healing brush tools. In the Lightroom program, you can also use the adjustment brush to lighten or darken areas, open up shadows, and control contrast, sharpness, saturation, etc. The spot removal tool can be used to cover problem areas.
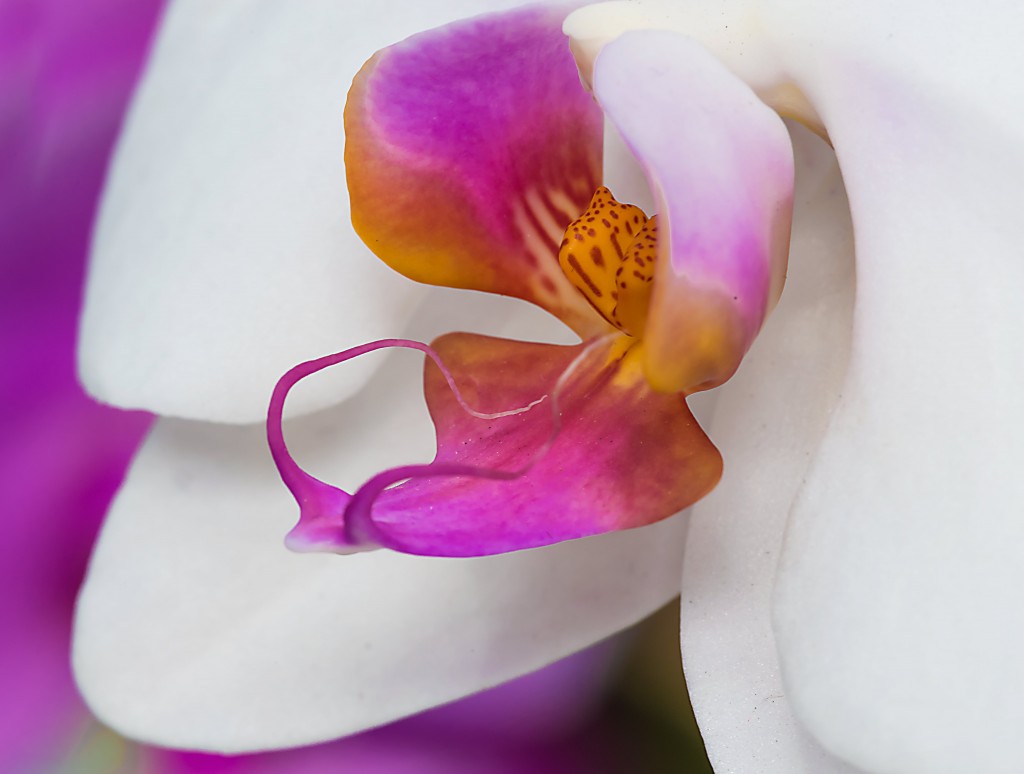
Have fun. The orchid image below was oversaturated intensionally during editing for a bazar artistic effect. I struggled to keep a window sill out of the photo so I avoided it by filling the frame with the subject.

Spot-lighting
If the subject is in the sun or is back-lit and background is busy, search for an shadowed area that can be positioned in the frame behind the subject. If no natural shadow is present, have a friend cast a shadow over the offending area or create one of your own.
Polarizer Filter
Mounting a polarizer on your lens can remove reflections from the surface of leaves, water, windows, and make the sky appear bluer. To use one, rotate the outer ring until you remove the offending glare. However, they remove a component of light resulting in slower shutter speeds for the same f-stop, There are warming polarizers that some people prefer to reduce the blue in the image.

Lenses
There are applications for any lens from wide angle to telephoto in the garden; however, for flowers close-ups, macro lenses are the most versatile. They are designed for high magnification and are extremely sharp edge to edge with low image distortion. Compared to a standard lens, they able to focus on subjects at a closer distance and thereby magnify the image. Many can reach a magnification of 1:1without accessories. They come in different focal lengths with the 105 or 200 mm lenses being my favorite. The shorter lens has vibration reduction and is easier to handhold but I prefer to use a tripod for stability when possible. The longer focal length lens has a narrower angle of view making it easier to alter the background with slight shift in position. They also offer a greater working distance from the subject. This helps prevent your shadow falling across the subject. Also with live subjects, the greater working distance increases the chance that the subject will not be alarmed and not flee. With a dangerous subject, the extra room provides a safety zone. My 200 mm Nikon Micro-Nikkor lens comes with an adjustable collar around the lens so you can mount the lens on a tripod directly, providing better balance and stability. The collar (see image below) also allows you to easily rotate the camera orientation from horizontal to vertical or in between without having to adjust the tripod or detach the camera from the tripod. The down side to macro lenses is that they are more expensive than standard lenses.
Macro-Zoom lenses have the ability to focus closer to the subject than a standard lens but often they do not have the magnification power of a “true” macro lens and the image quality is often not as good. But they do offer a lot of versatility from one lens.
Extension Tubes & Close-up Filters
As an alternative for close-up photography, consider purchasing a less expensive set of hollow extension tubes (see image below) that fit between the lens and camera body and allow you to focus closer to your subject than with the lens alone and thereby increase magnification. With no glass involved, the images obtained are quite sharp. Another low-cost alternative is using close-up filters that mount on the front of your primary lens. The resulting images are not as sharp as with the other options but are suitable for aesthetically pleasing images. A tele-converter can also be useful when you cannot get very close to your subject. They increase the magnification of your primary lens without changing your position.

Movement Issues:
When using high magnification, movement of the subject or camera is exaggerated and can be detrimental to image quality particularly when using slow shutter speeds. Tripods and monopods help you steady the camera. They are allowed in the garden most of the year but their use is limited in the conservatory. You must obtain a permit to carry it at the info desk near the main entrance to the gardens (Some conditions apply for use, so see Longwood’s web site for guidance). Tripods are not permitted during times of high visitation, particularly during the Christmas season. They can only be used in the conservatory until noon and cannot be used in the Children’s garden. Be considerate of other visitors since the narrow paths can become quite crowed as the day progresses and for popular exhibits.

More on Tripods
Tripods are useful for more than serving as a stable platform for the camera. With the camera supported on a tripod, it is easier to carefully examine the image in the viewfinder and on the LCD screen for issues related to composition, image sharpness, or background distractions. In the playback mode, consider using your camera’s magnifier for more critical view of image sharpness and depth of field. I frequently use a Hoodman or similar loupe over the LCD when reviewing images in the field. It excludes external light so you can more accurately judge what was captured.
It is wise to invest in a good tripod suited to your needs. Those with legs made with strong carbon fiber are lighter and easier to transport. If you have the opportunity, take your heaviest camera and lens to a pro camera shop such as Service Photo in Baltimore and test various tripods with your set-up. Using an unsteady, cumbersome tripod can be worse than using none at all. I recommend using a ball head mounted directly on the tripod for most applications.
At times, using a tripod can stifle creativity. Often you mount the camera on the tripod, walk around the subject a little, plant the tripod in one spot, and never move it again. Try exploring camera angles without the camera mounted on a tripod. Once you have decided on the best approach, they add the tripod for support.
Unwelcomed air movement
Be sensitive to subject movement caused by environmental conditions. The conservatory’s fans, that help regulate climate conditions in each room, circulate air and create drafts that can cause leaves and flowers to move during exposure. Similarly the movement of people passing nearby or opening a door can also generate an unwanted breeze. Be aware of the potential problem and wait for a lull in the motion before taking your photo. To maintain a still camera when taking a photo, use an electronic cable release.

More Than Just Flowers
Flowers are photographically intriguing but don’t ignore the garden’s water features, the conservatory’s architecture, and aspects of the plants other than the blooms (the leaves, buds, seeds pods, vines, fruit, etc.). Since the conservatory is quite large, I suggest deciding on specific goals for your visit, perhaps specific rooms, flowers, or techniques. Have fun and experiment with unusual camera angles, abstracts designs, or special effects created by intentional camera movement. Visit local gardens, your own backyard, a nearby meadow, or even a florist shop to improve your skills and creativity.


The post Photography at Longwood Gardens appeared first on Osprey Photo Workshops and Tours.
View Post on Original Blog
https://www.ospreyphoto.com/photography-at-longwood-gardens/
