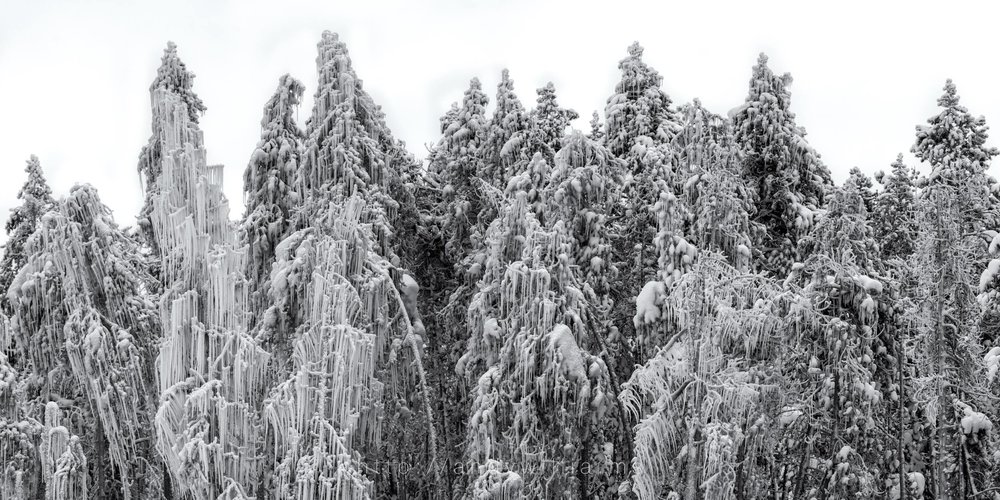
Andy loves to shoot handheld panoramas. With this skill, you can turn any lens you have into a wider focal length!

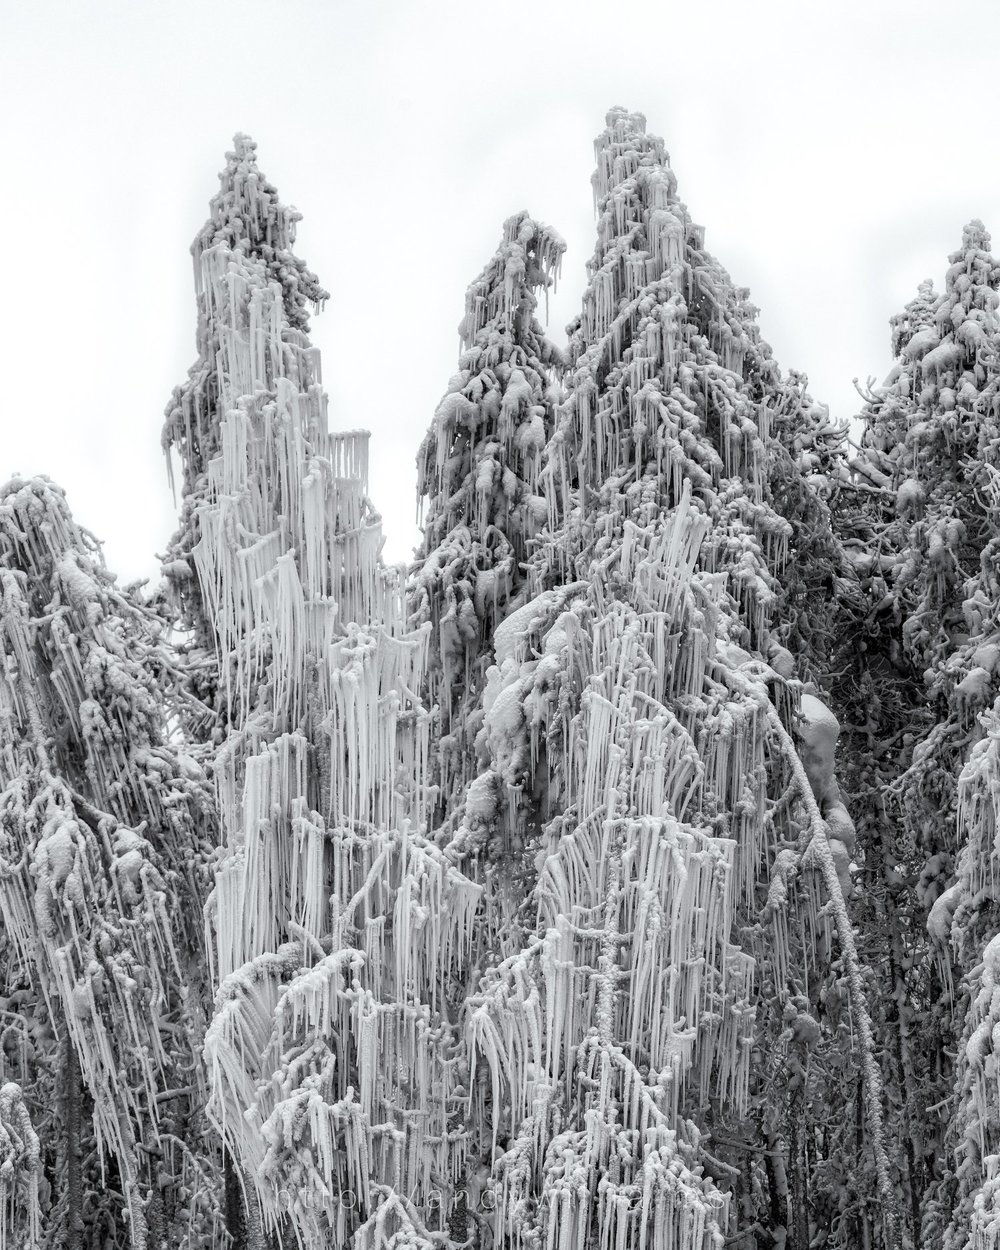
A cool thing is that when you shoot a big pano you can get a small bit from it, a photo within a photo, and you still have lots of pixels. This crop to the left is 80 megapixels of awesome ice-covered trees in Yellowstone National Park.
Here is the “How To”
1) Set your camera to manual everything, and meter off the brightest part of the image.
2) Auto focus on your chosen focus spot, then switch the lens to manual focus so it doesn’t change.
3) Shoot left to right, right to left, it doesn’t matter. Overlap each frame by 50% to make it easy. Maintain your camera in a level position.
4) Shoot in portrait orientation, to get more pixels in your final image.
5) You can do two rows if you are ambitious! Overlap the top and bottom by 50 % as well.
6) Don’t forget you can do “two shot” or “three shot” panoramas as well, if the lens you’re working with isn’t quite wide enough and you can’t move from where you’re shooting from.
7) In Lightroom, process one image and synchronize the processing to all (normally this is just going to be basic exposure, lens correction, and white balance settings).
8) Then in LR, choose your images, and right click>Photo Merge>Panorama.
9) Voila!
You can always come on one of our workshops to learn this technique! 🙂
View All WorkshopsView Post on Original Blog
https://muenchworkshops.com/blog/shooting-handheld-panoramas
