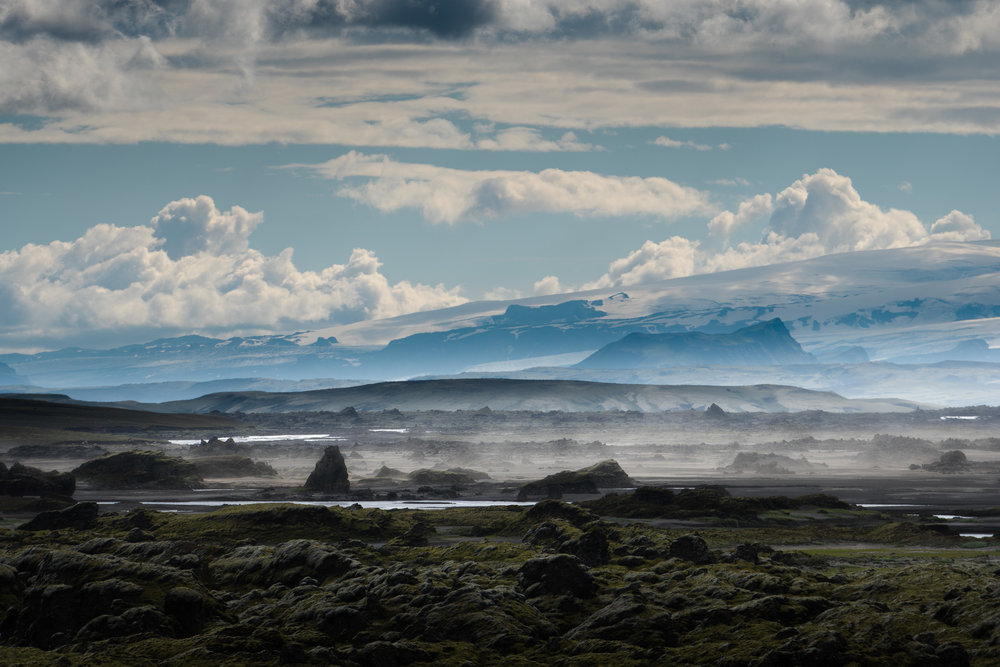
We photographers are constantly moving, not just to various locations but different countries in different climates and conditions. When we travel so much it’s much better to become familiar with a particular camera system and the focal lengths. For example I am now able to pick out with my minds eye a composition and know about what focal length I need. This comes after years of working with certain lenses and formats. The one lens with a useful variety of focal lengths I really enjoy is the 70-200 range. I always want it in my bag at all times. This means I need to carry this lens everywhere I go. And for that reason I don’t want it to be heavy. My choice for this focal length is the f/4 version rather than the f/2.8 which weighs in at 30 to 40% more. I do not utilize the shallow depth of field nor faster focusing potential in low light so the slightly slower ( 1 full stop ) aperture works just fine. The sharpness is no longer an issue as I have found the Canon, Nikon and Sony f/4 versions are all extremely sharp and just as sharp as the f/2.8 versions.
Here’s a great way to use these lenses in the landscape. Find a distant view in the right light and zoom in to obtain more compression in the scene. This creates 3 or more paned shots that you can merge together in Lightroom or Photoshop. This gives you the amazing focal length at whatever field of view you choose.

The majority of the time I’m composing subjects or elements of a subject that falls into the same plane of focus, infinity. This allows me to utilize the best part of the f/4 characteristics. I’m not looking for shallow depth of field nor bokeh when using the lens in this way, but rather using shape color and atmospheric haze to create the interest.


Another great use of the 70-200 f/4 is to do a stitched panorama. After you’ve shot with your wide angle lens, think about a high-res panorama. Without foreground elements you can easily shoot without any special gear. Just get the base of your tripod (the part under your ballhead) as level as you can. Mount the 70-200 and zoom in and compose. Orient the camera in portrait orientation, to get more resolution top to bottom. Expose manually for the brightest part of the scene, and leave the exposure alone. Go ahead and autofocus once, and then switch to manual focus so the focus doesn’t change when you move the camera and lens. Shoot a single row, left to right, overlapping each shot by 30-50%. A bonus is to do a double-row! point your camera up a bit for the first row, and then down a bit for the second, overlapping each image top and bottom by 30-50%. Putting them together in Lightroom is super easy, and something we teach and demonstrate on our workshops! Here’s an example from the Dolomites in Italy, it’s approximately 700 megapixels, 20 Sony a7rII shots in two rows.

Enjoy (70-200 f/4) photography!
– Marc & Andy
View Post on Original Blog
https://muenchworkshops.com/blog/the-mighty-70-200-f4
